💡 In this guide, you will connect your Meta ad account, choose your ad defaults, and create your first batch.
Native can create, publish, and improve Meta ads using what it already knows about your brand. You do not need to know Meta Ads Manager to get started. You do need access to the Facebook Page and Meta ad account you want to use.
Before you begin
Have these four things ready:
- Your Facebook login. Use the personal Facebook account that has access to the business Page. Native never needs your password.
- The correct Meta ad account. Check that it belongs to this business and has a payment method. If it does not, an ad-account admin can add one in Meta Ads Manager → Billing & payments → Payment settings → Add payment method. This is separate from Pixel setup.
- A destination. Choose the product page, booking page, form, or website page people should land on.
- One clear outcome. Decide whether you want a purchase, lead, booking, website visit, awareness, or more engagement.
1. Connect Meta Ads
- Open the Profile you want to advertise.
- Go to Branding → Ads.
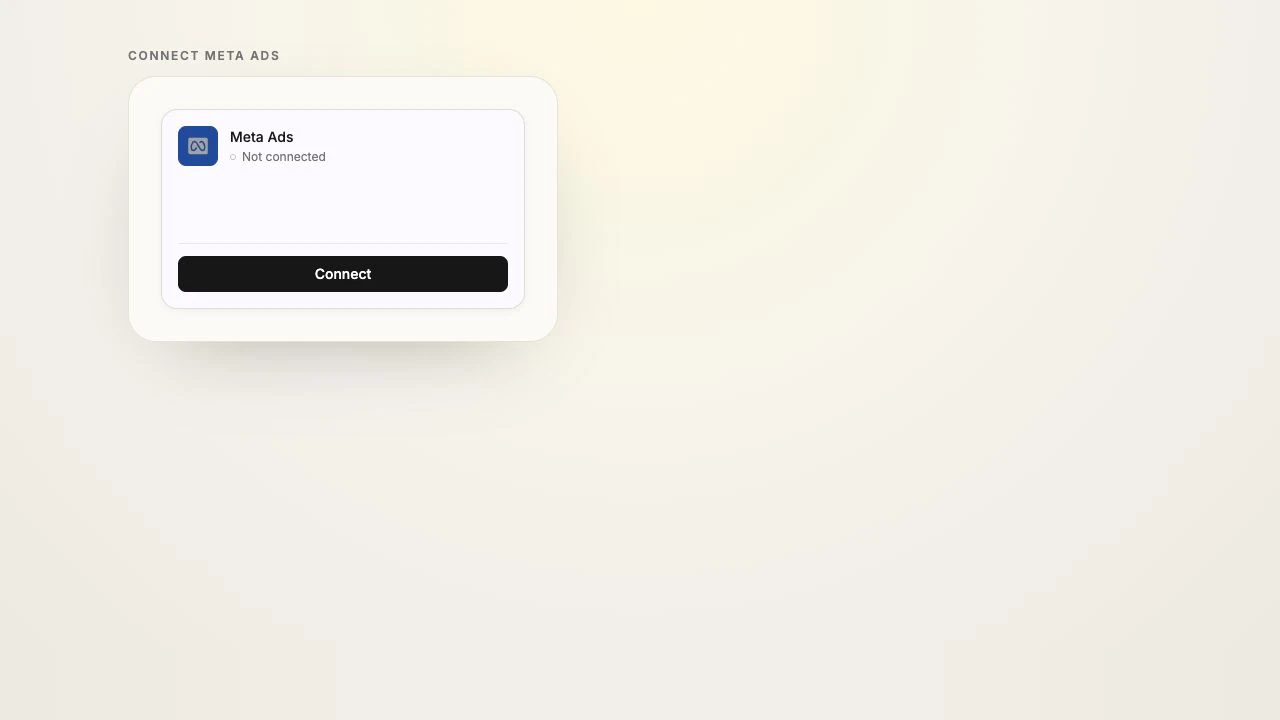
- Under Campaigns, choose Connect.
- Complete Meta's sign-in, then select the correct Facebook Page and ad account.
Why do I sign in with my personal Facebook account?
Meta uses your personal login to check which business Pages and ad accounts you are allowed to manage. Your personal profile is not used as the advertiser.
Connecting Meta Ads may upgrade this Profile's social connection. If Native asks you to reconnect your organic social accounts afterward, follow that prompt so scheduled posts keep publishing.
2. Configure the basics
Open the Configure tab and work through these sections:
- Target audience: describe the ideal customer in normal language. Include who they are, what they need, and what usually convinces them.
- Campaign setup: choose the ad language and add the page people should visit.
- Meta optimization: choose what Meta should optimize for.
- Featured content: select products and brand assets Native should prioritize.
Choose Traffic, Engagement, or Awareness when your immediate goal is visits or visibility. For Sales or Website leads, set up the Meta Pixel and a matching conversion event before you spend money. Then choose Save.
3. Create your first batch
Choose Generate ads. Native asks a short brief about:
- what has worked for you before,
- who you want to reach,
- what people should do next, and
- which product, service, or message you want to highlight.
Native creates the visual, headline, primary text, and recommended Meta variations. Open every ad and review it. You can edit the image and copy, exclude an ad from Meta, or leave the whole batch as a draft. A draft does not spend money.
4. Publish deliberately
Before publishing, check the destination link once more and set a daily Meta budget you are comfortable with. When you push the batch to Meta, Native shows the spend details for confirmation. Meta may show new ads as In review before they become Live.
You can monitor and pause ads under Branding → Ads → Campaigns.
A good first move: you can set up Autopilot without creating a manual batch first. If paid ads are new to you, leave automatic publishing off initially so you can review the first finished batch and confirm its destination.
Next · Step 2
Show Meta which visits become real purchases, leads, signups, or bookings.