
Create
Finish a picture in Designer
 Elin Kristina AnderssonFounding GTM0:34Recorded 18 de noviembre de 2026

Designer is where a post's picture gets its finishing touches, with your assistant right beside it. Ask for a change in your own words, or make it yourself, layer by layer.
In this video
Step by step
Step 1: Open the designer
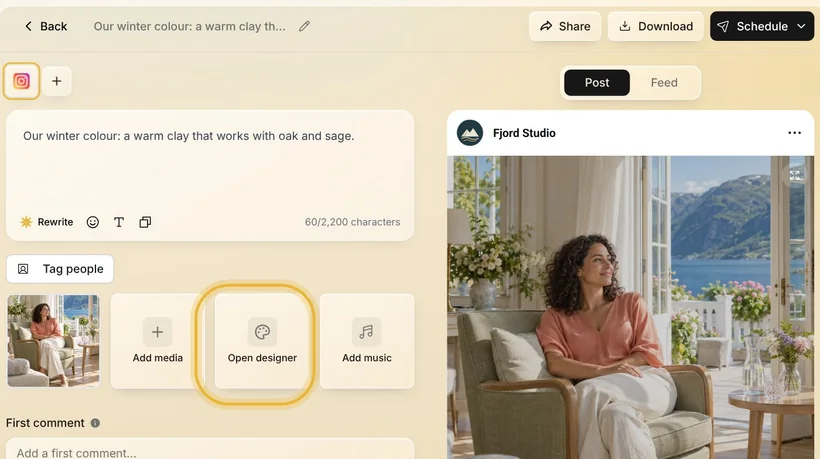
Open the post, and press Open designer. The picture opens in the designer, with the chat beside it.
Step 2: Ask your assistant
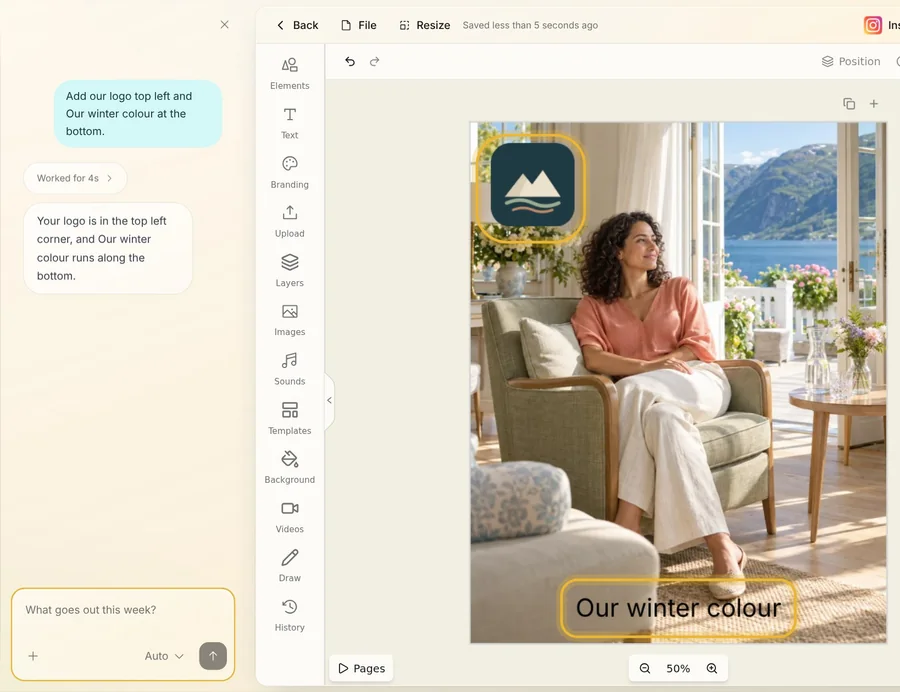
Say what to add and where, like “Add our logo top left and Our winter colour at the bottom”. Your assistant reads the design, then puts your logo and your words on the picture while you watch.
Tip: Changes like these cost nothing, and Undo puts one back.
Step 3: Change it yourself
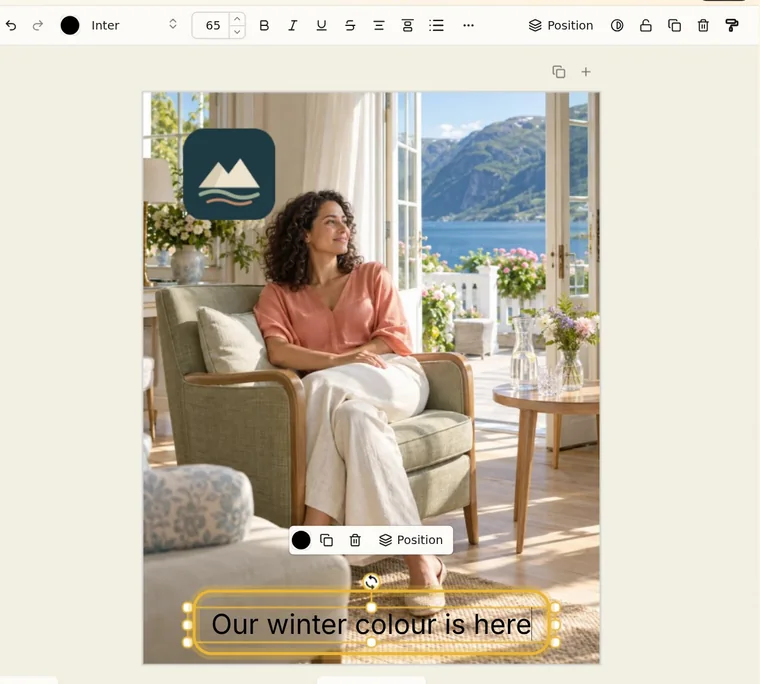
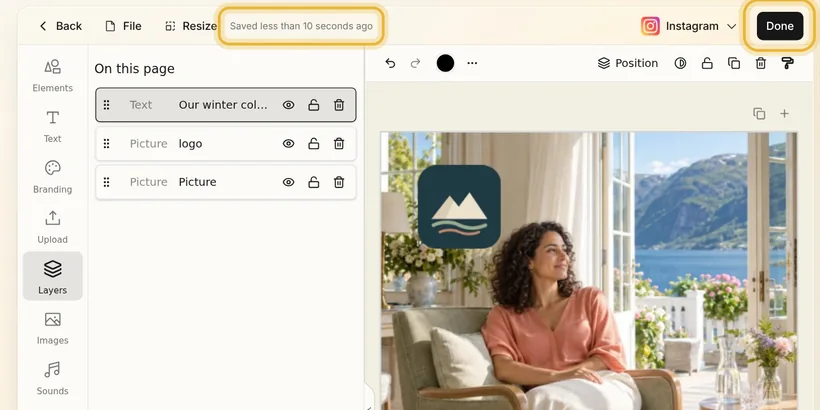
Drag something on the picture to move it, or drag a corner to resize it. Double-click words to type new ones. Text adds a text box, Branding has your logo and your colors, and Layers lists everything on the page.
Tip: In Layers, drag to change what sits on top, and lock what should stay where it is.
Step 4: Back to the post
The designer saves as you go. Press Done to go back to your post, with its finished picture.
Tips from Elin
- Your words are written just as you give them.
- Say where, like top left or along the bottom, and your assistant keeps it clear of the edges.
- No logo saved yet? Your assistant looks for it on your website, and saves it to your logos when it finds it.
Try it in Native
New to Native? Start with your website, and see your first posts today.